Books We Are Using This Year
  • The Story of the World: Ancient Times (Vol. 1)
    The Story of the World: Ancient Times (Vol. 1)
    by Jeff West,S. Wise Bauer,Jeff (ILT) West, Susan Wise Bauer
  • Building Foundations of Scientific Understanding: A Science Curriculum for K-2
    Building Foundations of Scientific Understanding: A Science Curriculum for K-2
    by Bernard J Nebel PhD
  • Math-U-See Epsilon Student Kit (Complete Kit)
    Math-U-See Epsilon Student Kit (Complete Kit)
    by Steven P. Demme
  • First Language Lessons for the Well-Trained Mind: Level 4 Instructor Guide (First Language Lessons) By Jessie Wise, Sara Buffington
    First Language Lessons for the Well-Trained Mind: Level 4 Instructor Guide (First Language Lessons) By Jessie Wise, Sara Buffington
    by -Author-
  • SPELLING WORKOUT LEVEL E PUPIL EDITION
    SPELLING WORKOUT LEVEL E PUPIL EDITION
    by MODERN CURRICULUM PRESS
  • Drawing With Children: A Creative Method for Adult Beginners, Too
    Drawing With Children: A Creative Method for Adult Beginners, Too
    by Mona Brookes
Powered by Squarespace
Live and Learn Tags
Live and Learn Categories

Entries in middle ages (5)

Thursday
Apr212011

Exploring the Middle Ages

The Middle Ages, March 21–April 15

This started out as a look at the renaissance, and before that it was going to be a FIAR look at The Clown of God, by Tomie dePaola, but neither of us liked the book and Calvin was more excited about the concept of the middle ages (especially knights) than about the renaissance, so that's where we ended up. I think this was my favorite exploration so far, or maybe I'll be saying that every time. I hope so.

A note about our book lists: we are not librarians or experts in the field, and while I make some book choices based on recommendations from people who are one of the above, more often than not we simply use that we happen to have in our collection, or books we come across at the library. Many of the books that we have in our collection are odd-balls and aren't easily tracked down elsewhere, but I list them here because similar books are always easy to come by.

Topics of focus:
Medieval life

Europe (England, France, Italy)
Timelines, and math counting concepts up to the thousands
Medieval castles and cathedrals

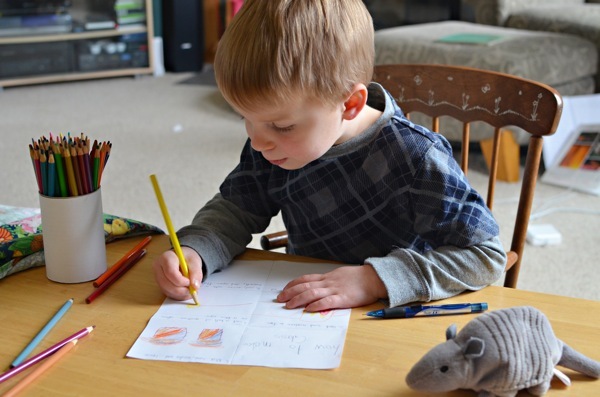
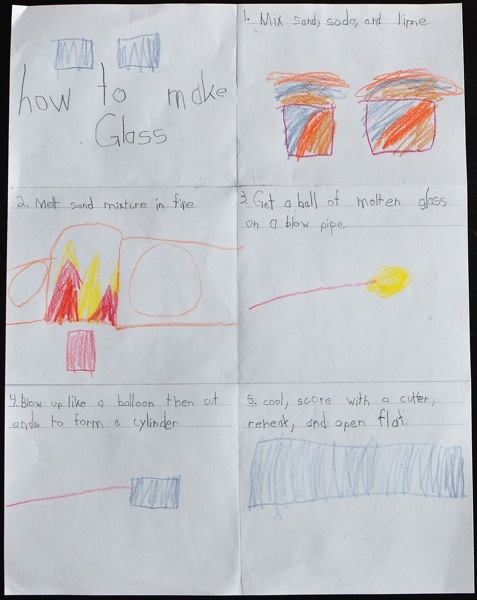
Antique glass blowing
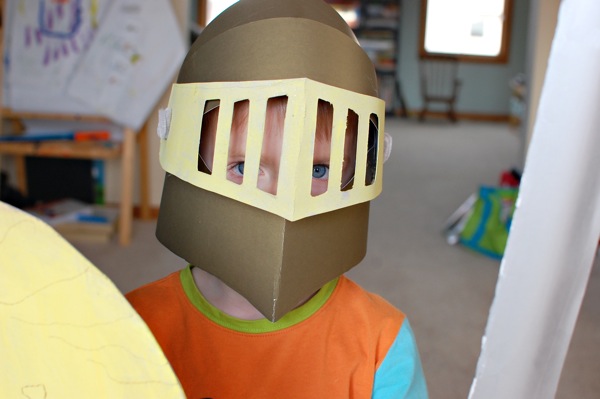
Knights

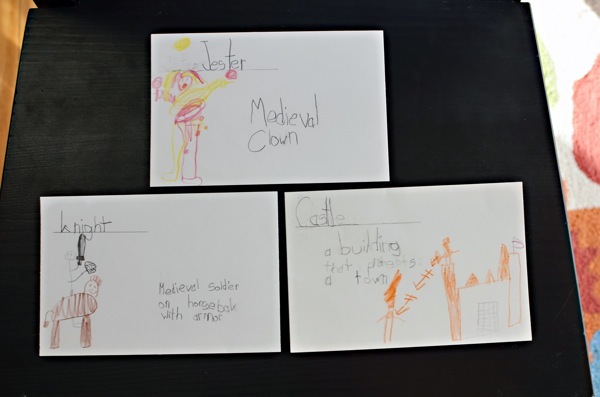
Vocabulary—castle, knight, jester

A peek at the Renaissance

Book list:
Cowardly Clyde, by Bill Pete
The Knight at Dawn (Magic Tree House #2)
Knights and Castles (Magic Tree House research guide)
Don Quixote and the Windmills, by Eric Kimmel
Don Quixote and Sancho Panza, by Margaret Hodges
King Arthur, by Howard Pyle
King Arthur’s Knight Quest, by Andy Dixon and Felicity Brooks
Parliament of the Fowles, Geoffrey Chaucer
(downloadable resource)
A Chaucer Reader, selections from Canterbury Tales, by Geoffrey Chaucer, Charles Dunn editor
Saint George and the Dragon, by Margaret Hodges
Medieval Life (DK Eyewitness)
Built to Last, by David Macaulay
Knights and Castles, Things to Make and Do (Usborne)
Arms and Armour, by Ewart Oakeshot

Video list:
The Art of Making Glass, part 1 (YouTube)
The Art of Making Glass, part 2 (YouTube)

Activity list:
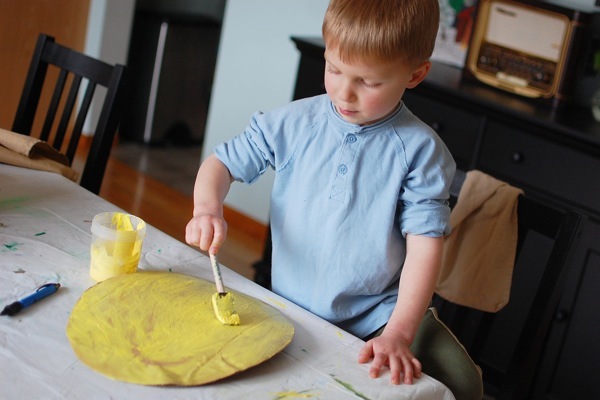
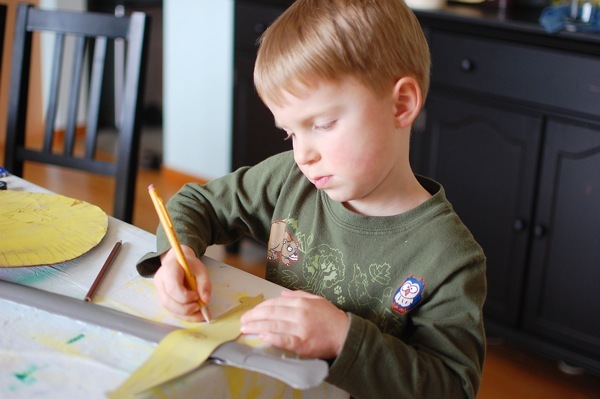
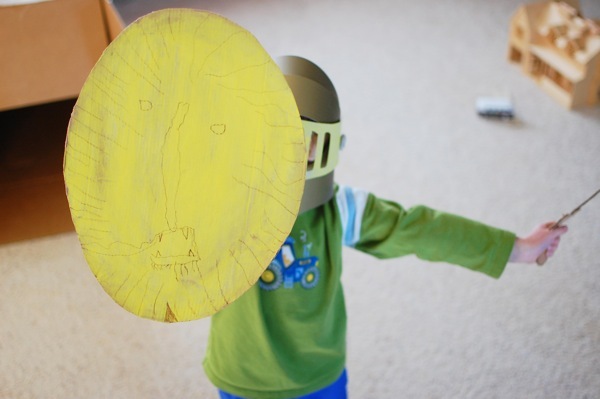
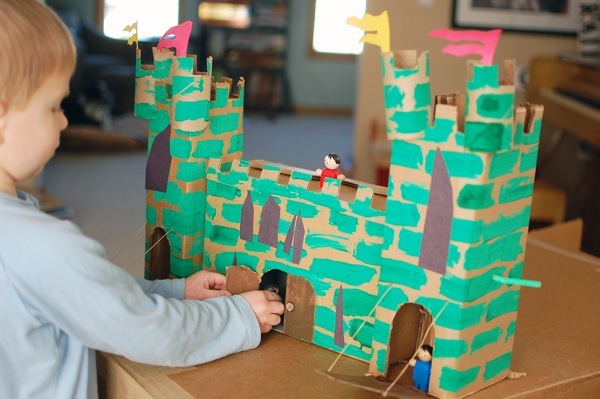
Building a castle from cardboard
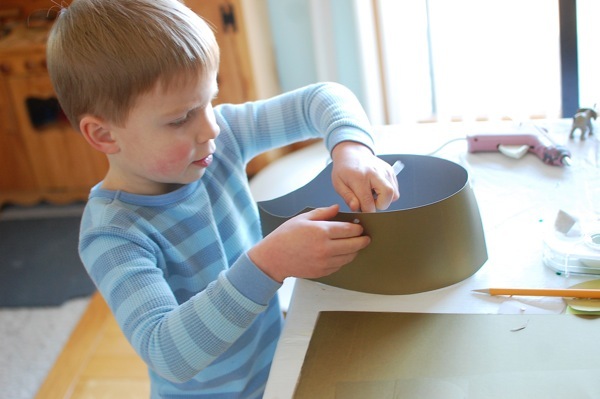
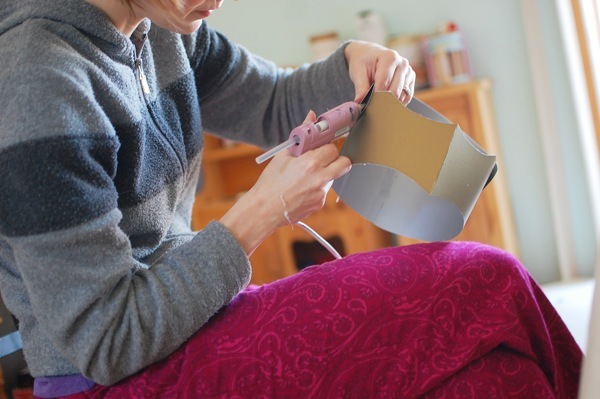
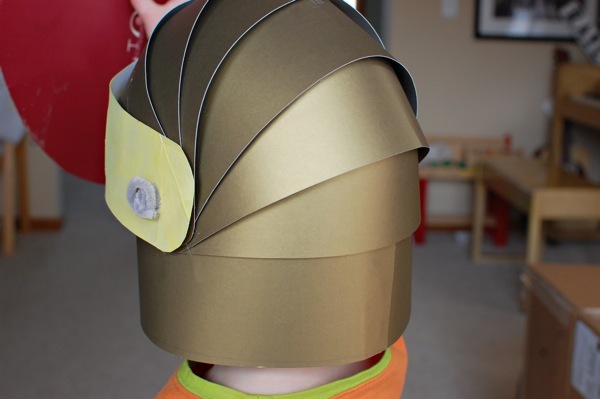
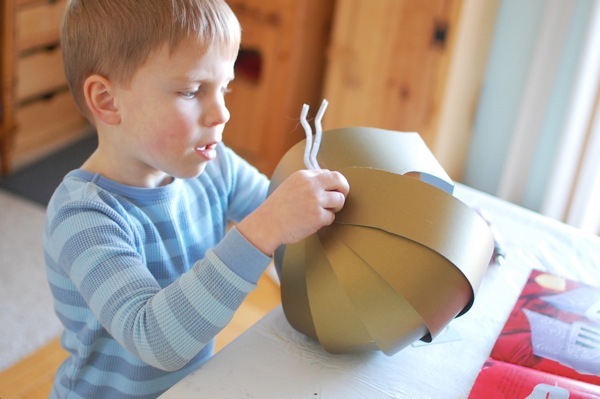
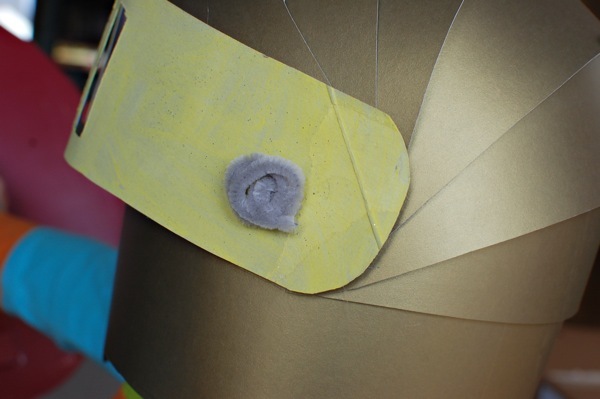
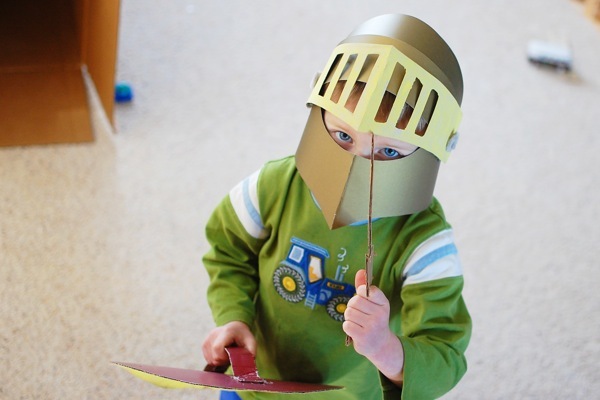
Making knight’s armor from poster board
Make-believe play (of course!)

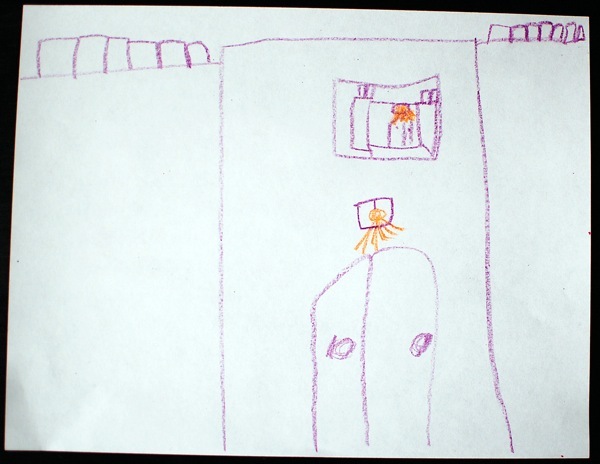
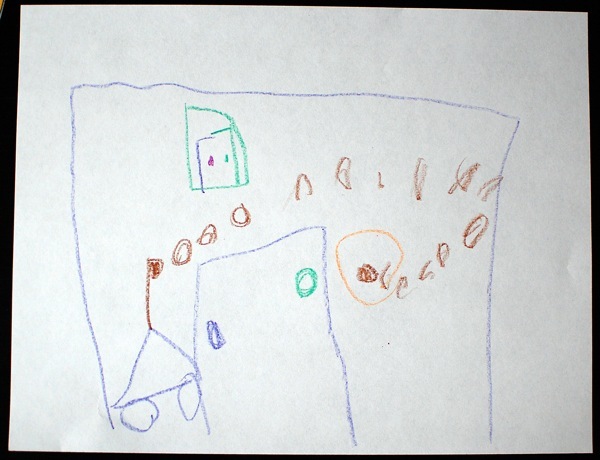
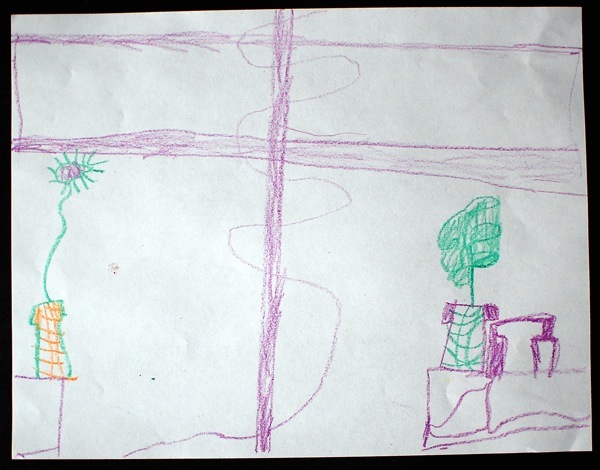
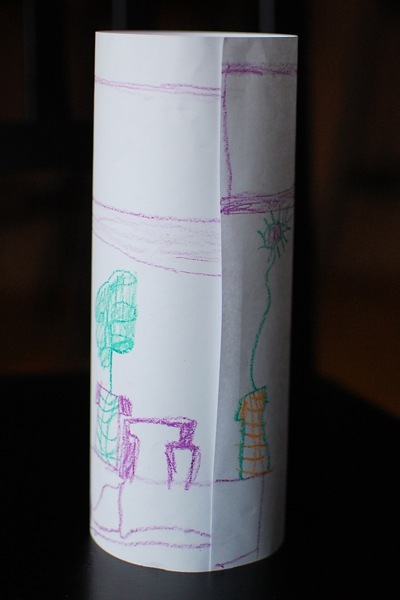
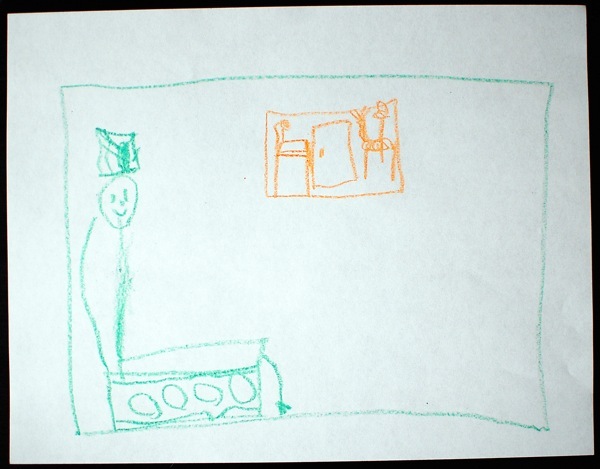
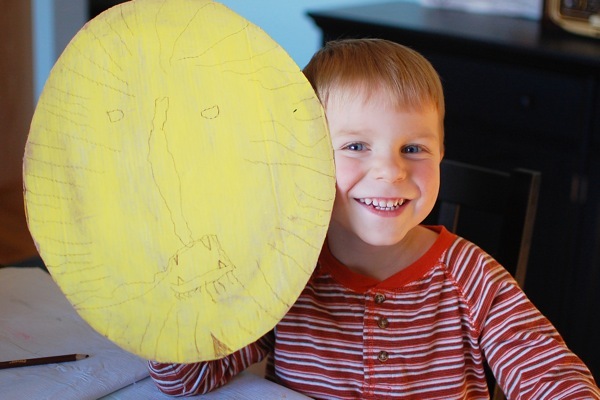
Drawing and labeling castles, knights, etc.
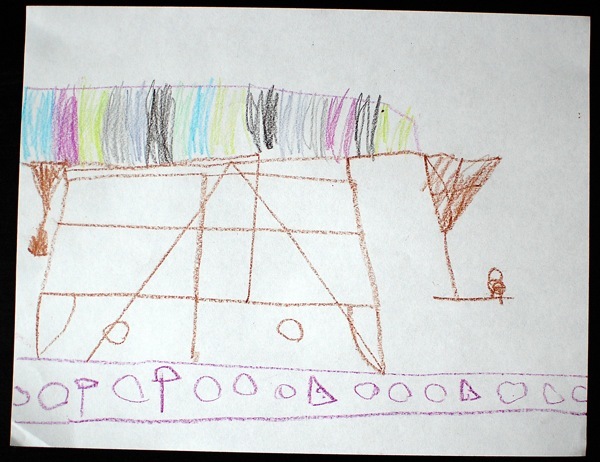
Illustrating the glass making process
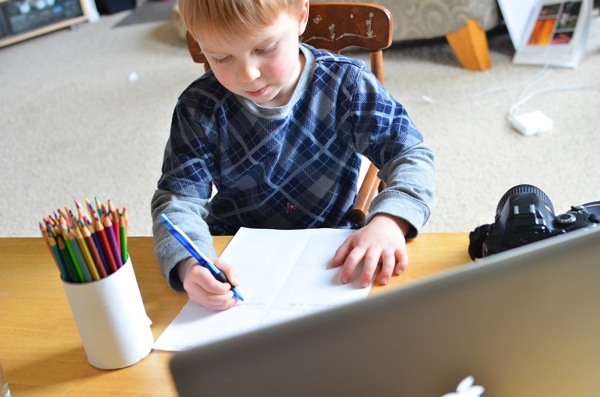
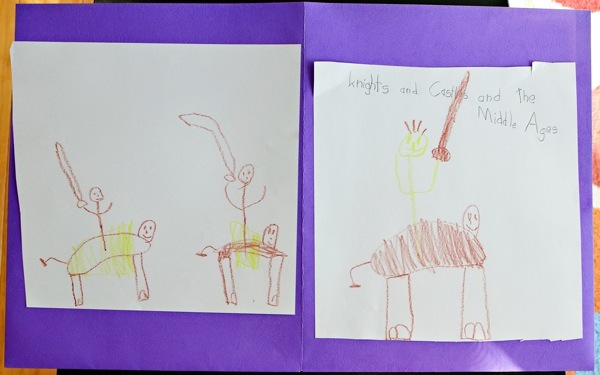
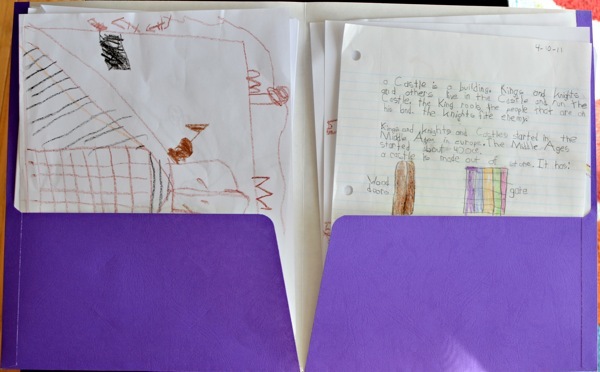
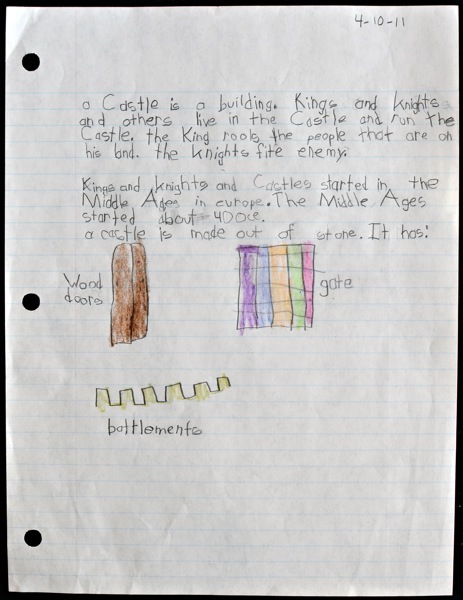
Writing about the middle ages (I suggested a story, he wrote a factual summary)
Playing chess

Playing The Great Mammoth Hunt
Listening to Renaissance music (thank you Pandora)

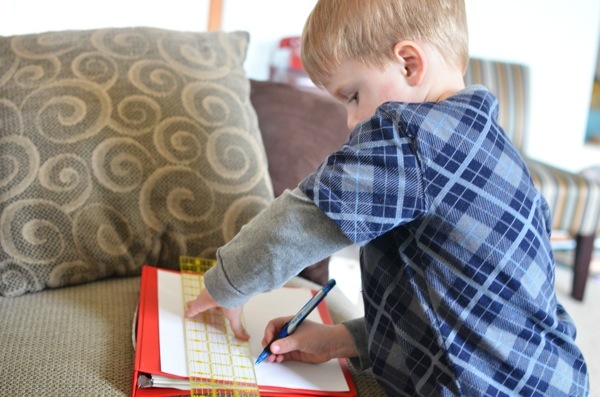
And he assembled a folder about the middle ages. Really he just wanted a place to keep all his artwork and writing because, as he put it, he might want to look back at it some day. I am sure he got the idea from previous lap-book style folders I've had him make, both for Katy and the Big Snow and for The Two Cars, but I like it this way better: his own idea, his own impetus, all his own work.

Saturday
Apr162011

Glass making, a pictorial how-to

Last week, when we were exploring castles and cathedrals on our trip through the middle ages, using the book Built To Last, by David MacAuley, we ended up taking a side trip through this video (and its second part) to find out how the glass for those glorious windows was made. Although I'm sure there are betters ones out there, we had a lot of fun with those videos. This week, as Calvin was gathering all the drawings, writings, and other paraphernalia of our medieval meanderings, he was slightly aghast at finding nothing about this glass blowing side trip and decided to write up a sheet of instructions for future memory jogging. There are many different ways to chronicle, and I love that he is exploring all of them, from journaling to sketching, and now a colorful combination.

Tuesday
Apr052011

Illustrating the Middle Ages

Jon was working from home yesterday, and to take advantage of the extra adult at home Calvin decided he wanted to stay home while I went to the library to do the Monday sorting in the sale room. I left him with task of drawing castles, and for the whole hour I was gone he was busy at it.

Castle with battlements, inset picture shows same castle from slightly farther away.

Castle under attack by a catapult.

Diagram of the inside of a castle tower, with decorative plants and a spiral staircase. He drew this one to be made into a cylinder, as seen below.

King on throne inside castle, with artwork hanging on wall.

A balance scale, and it looks like there's either a person or a duck on the right side so this very much makes me think of Monty Python's witch weighing in the Holy Grail.

And my very favorite. I love this picture. A knight riding up to the castle drawbridge (closed) with sword and shield and the visor on his helmet down. He's a little hard to see here because both he and the horse or a sort of neon yellow, but I love him.

Saturday
Apr022011

Making knights armor

Playing around in the middle ages this week Calvin has been on a knights quest. The instigator was a book called King Arthur's Knight Quest, which I picked up a while back at our library book sale. It's a hidden pictures kind of book and on his quest he's been finding the armor he'll need to rescue all of King Arthur's favorite knights. It's been fun, especially since he decided that finding the armor in the book wasn't enough and decided to make his own.

We started with a shield, which is merely an oval cut from corrugated cardboard. He painted and decorated it, then I added another strip of cardboard to the back, secured with hot glue, to act as the handle.

The helmet came next. This was a doozy of a project. Basic instructions came from the Usborne Knights and Castles activity book, but our first attempt at the helmet didn't go so well and we ended up scratching the job and starting over again the next day with some of our own ideas.

I used a measuring tape to measure around his nose to the back of his head then we marked and cut a strip of posterboard to length, plus an inch for overlap, and 3.5 inches thick.

We folded it in half and Calvin punched a hole, through both sides, about a half inch in from the long edge and almost halfway along the length. I then marked two cutting lines along the folded strip: a line starting at the bottom corner of the folded edge and arcing up to an inch from the bottom and finishing straight along the length, and another line staring about a half inch from the top corner of the folded edge and arcing smoothly up to the top edge. Calvin cut these out and they became the pointed tip at his chin and the slight dip below his eyes.

After the cuts were made we opened the strip and glued it together in the back, gluing the overlap front to back.

We used the tape measure again to measure the length in the back between the two holes, then cut out seven strips of that length plus one inch, six at two inches wide and one at four inches wide, and rounded at the ends. We punched holes in each strip, a half inch from the ends. We added the two inch strips to the helmet one at a time, lining up the holes to the ones on the helmet and tilting the strips until the bottom edge just touched the top edge of the strip below. Calvin held each strip in place while I hot glued it around the hole.

Calvin cam:

For the face mask we folded the four inch strip in half and drew the slits, then I cut them with a box cutter. Calvin then threaded silver colored pipe cleaners through the holes on the helmet, glued them on the inside, then threaded the face mask onto them on the outside and coiled the end of the pipe cleaners to hold them in place. This way the face mask can be raised and lowered.


The sword was made with the remainder of the gold poster board, which was silver on the other side. Calvin traced the shape then cut it out twice. I cut a long, thin strip of heavy cardboard and we glued it to the insides of the sword shapes, lining them up. We then glued all the way around the edges of the sword, and Calvin traced and cut out a hand guard using more of the leftover pieces. He decorated it to match the shield.

We still haven't worked out a way to make armor just yet, but if we do we'll be back. 

Friday
Mar252011

Making a castle

While exploring Italy this week we found ourselves in the Renaissance, and it wasn't a big leap from there to the general medieval era. We'll go back to the Renaissance some day but right now I have a little boy who is fascinated by the fantastical side of the middle ages, the castles, knights, lords and ladies, and jousts. Knowing this day was likely to come, a few months ago I picked up the Usborne Knights and Castles activity book at the library sale for 25 cents and it is serving us well now. It started us down the castle building road last weekend, when Jon and Calvin constructed a castle tower, and over the course of the week it grew into a two towered, multi storied play castle. I knew all that cardboard I'd been putting away would come in handy eventually.

Calvin was part every part of the planning except for my idea of the shoebox for the center piece. He assisted with every step, including measuring, marking, gluing and cutting. Here's the run down of our process.

We decided on the size of our first tower, and later I built the second tower to match, but the size doesn't matter much. After selecting the cardboard and size for the towers Calvin painted the outside and we lightly scored the folds on the inside with a box cutter, four equal sides and a small overlap for gluing it closed. With Calvin's help we measured and cut the battlement edge and an opening for the door.

For the draw bridge we used lighter cardboard, cut to a rectangle shape twice the height of the door opening and folded in half. We spread hot glue around the inside of the tower door and glued the bridge to it so that it was adhered on the inside and would fold up over the door opening on the outside. We then cut the door space out of the lighter cardboard, leaving the doorway open and the bridge adhered to the tower by two tabs inside. We poked two holes opposite each other on the walks perpendicular to the door, slightly above the top of the door opening, and threaded a straw through them, trimmed flush on one side and attached with a brad while left long on the other. We poked smaller holes, through the bridge and the castle wall, on each top corner of the bridge then treaded waxed twine through these holes, knotted on the outside to keep it from puling through, and tied it to the straw with the bridge fully open. I then used hot glue to secure it.

When the straw is rotated the twine is wound up and the bridge pulled closed, when twisted loose the bridge drops open. The turrets were made from wrapping paper rolls and attached to the main tower by sliding them into short slits made in the tower body. The flags and windows were cut from construction paper.

The central part of the castle was made from an Asics shoe box. I love those boxes for crafts. The lid is attached so that it will swing open, and while the box is printed on the outside it is all one piece and assembled using only slits and folds, no glue, so it can be completely turned inside out leaving the clean inside on the outside for painting and decorating, which Calvin did to match the two towers.

We also painted an extra strip of cardboard and cut it to create a battlement look, then attached it using hot glue. We used a second extra strip of cardboard, attached with hot glue, to make a second floor. We cut a double door into the bottom of the box so that when the box lid (now the back of the castle) is open it provides access to the inside of the castle and creates access to the inside for play. The two towers are attached to the central castle with hot glue.

We plan to cover the "floor" of the castle with felt and create some medieval furniture as well, but it's already proved a delightful toy for my knight obsessed little boy.

Join the art parade at Saturday's artist.